Okay, here’s my blog post about setting up a Pulsafeeder chemical pump, written in a casual, personal style, with simple formatting:
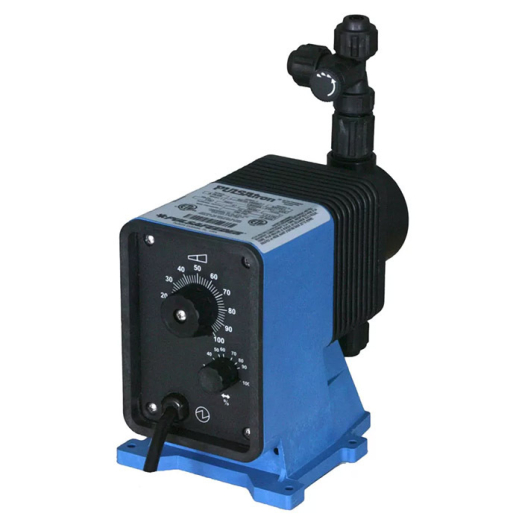
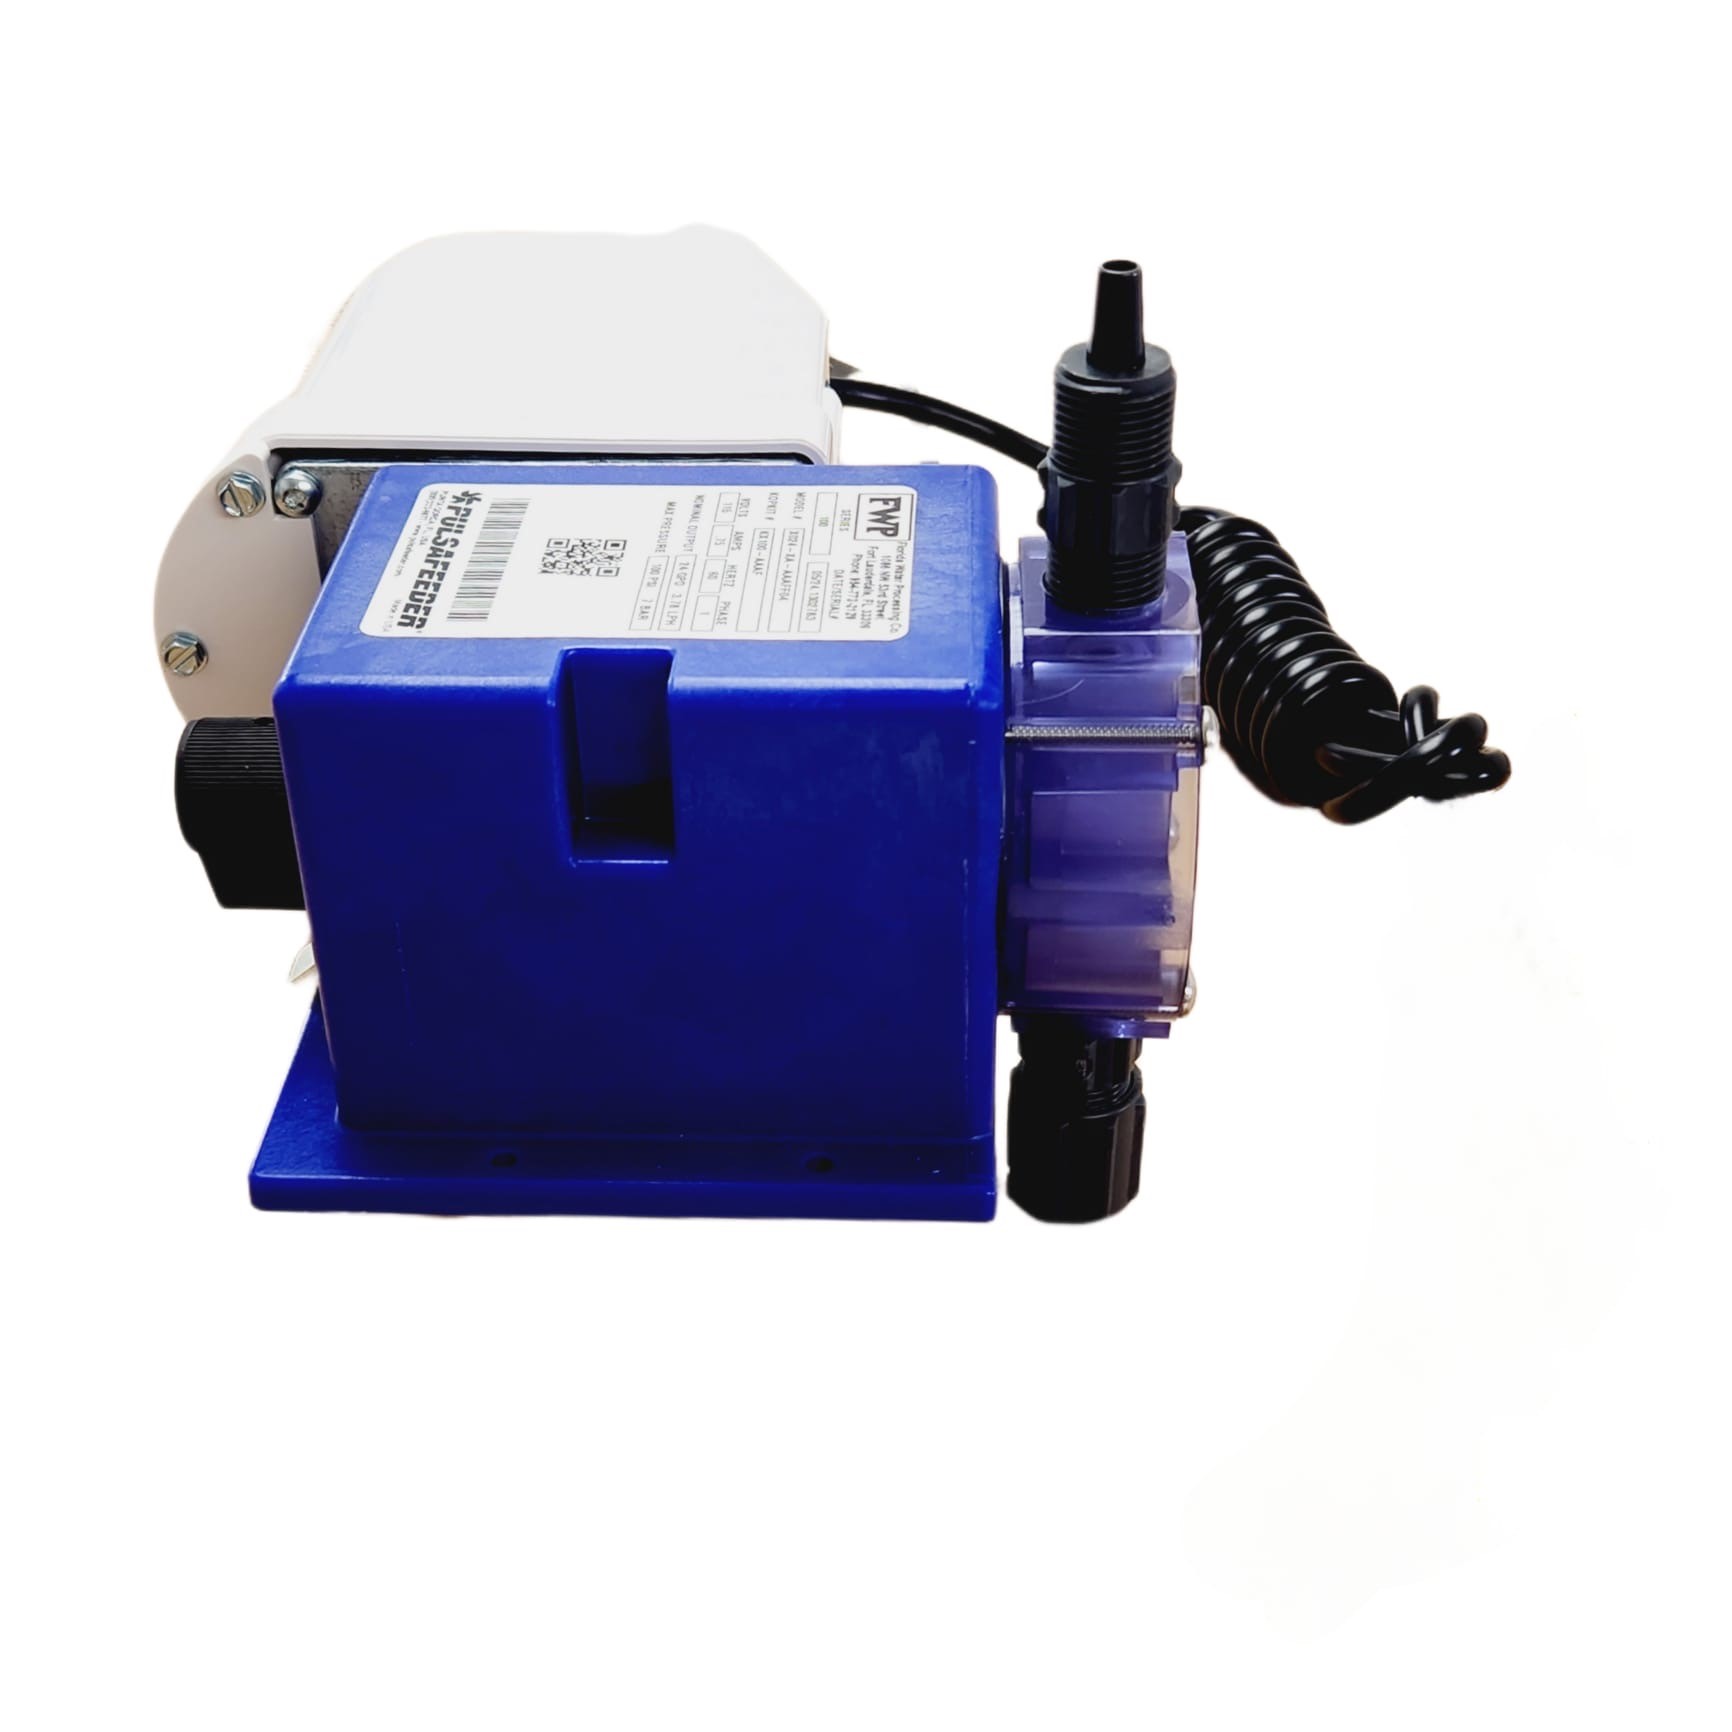
Alright, so the other day I had to mess with one of these Pulsafeeder chemical pumps. I’m not gonna lie, I’d never actually installed one myself before. Seen ’em plenty, sure, but never got hands-on. This time, though, I had to figure it out.
First thing I did was unpack the whole thing. You know, make sure all the bits and pieces were there. It came with the pump itself, some tubing, a foot valve, an injection fitting, and a bunch of mounting hardware. It’s important to find the instruction.
Getting Started
Then, I spent a solid few minutes just reading the instructions. Yeah, yeah, I know, who reads instructions? But seriously, with chemical pumps, you kinda wanna know what you’re doing. You don’t want to mess around with stuff that could, you know, melt things.
Next, I found a good spot to mount it. Needs to be somewhere sturdy, obviously, and close enough to both the chemical tank and where I needed to inject the stuff. Also, out of the way enough that nobody’s gonna bump into it and cause a spill. I got some screws and bolted that sucker down.
The Tubing Part
The tubing was the next adventure. I connected one end of the suction tubing to the foot valve and dropped that into my chemical drum. Gotta make sure the foot valve is all the way at the bottom, so it can suck up every last drop. I used the hose clamps to make sure everything was nice and tight – no leaks wanted!
- Cut the tubing.
- Attach foot valve.
- Drop into chemical.
- Secure with clamp.
Then, I connected the other end of that suction tubing to the inlet side of the pump. Again, made sure it was super snug. No air bubbles getting in, you feel me?
After that, I measured out the discharge tubing. This is the stuff that carries the chemical to where it needs to go. I connected one end to the outlet side of the pump and the other end to the injection fitting. The Injection fitting, that is important.
Powering Up
Finally, the moment of truth! I double-checked all my connections one last time, then I plugged the pump in. I started it up slow, just to make sure everything was flowing right. You could see the chemical moving through the tubing. Gradually, I cranked it up to the flow rate I needed.
And… that was pretty much it! Took some tinkering and a little bit of “wait, is this right?”, but I got it working. It’s been chugging along ever since, no problems. Chemical pumps, they’re not so scary after all.
This is all my record of process. Hope it is useful for you.